Recipes • Fitness Well
Frozen Raspberry and Chocolate Bites
A small-batch frozen dessert made with raspberries, honey, and a chocolate coating, with storage and texture tips.
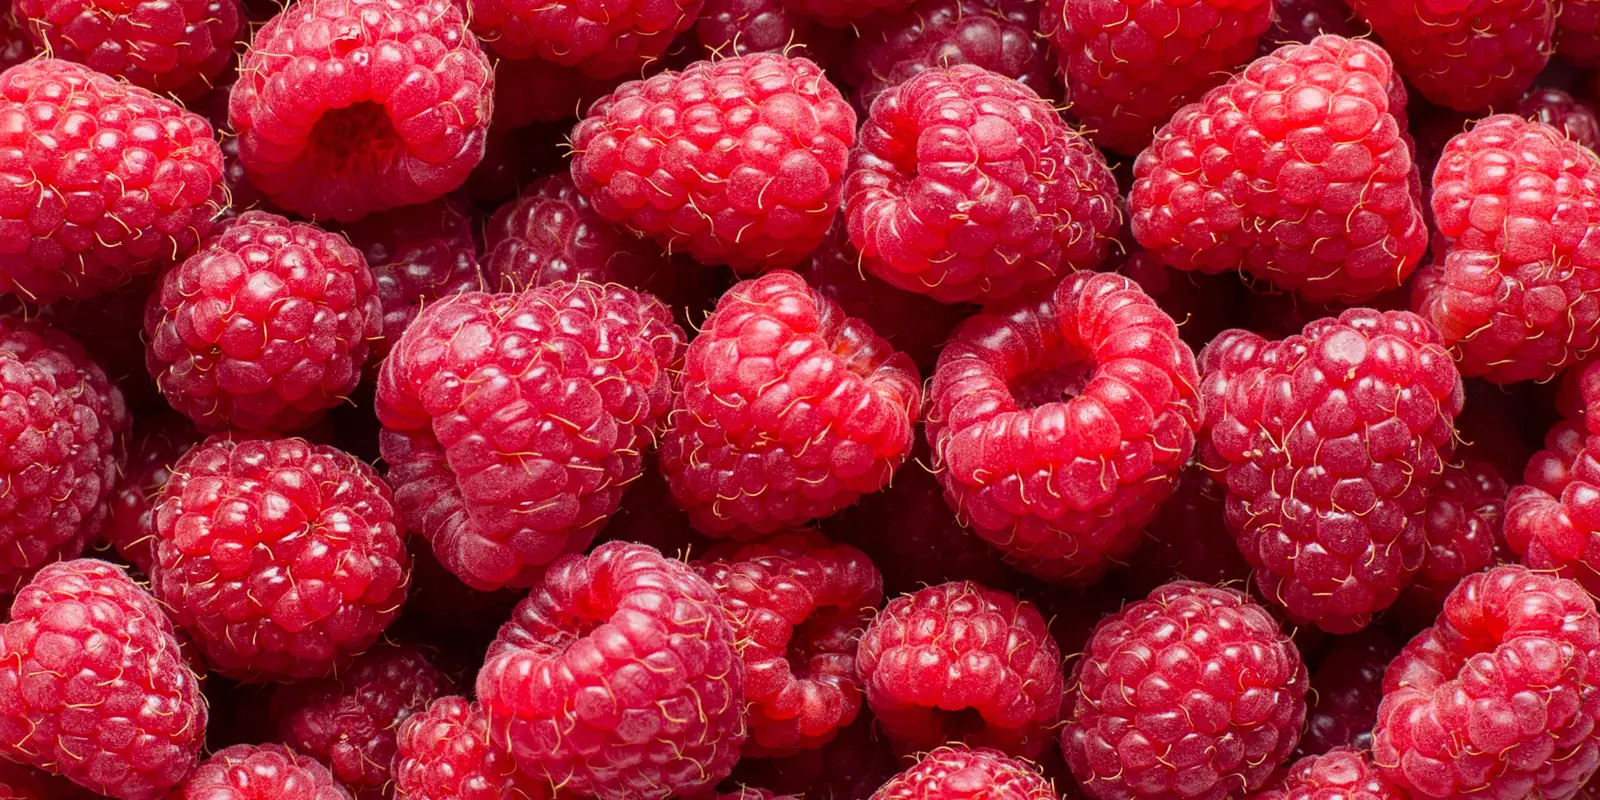
These frozen raspberry-chocolate bites combine tart fruit with a crisp chocolate coating. They are easy to prepare ahead and can be made with milk, dark, or white chocolate. The recipe makes about six or seven pieces, depending on how large you scoop the raspberry mixture. It is a dessert idea, not a nutrition treatment or a guaranteed “healthier” substitute for another food.
Ingredients
- 1 pint fresh raspberries, rinsed and dried
- 1½ teaspoons honey, or to taste
- 1 cup chocolate chips or melting chocolate disks
- Optional: a pinch of salt, chopped nuts, or a drizzle of a second chocolate
Prepare the berries
Rinse the raspberries gently under running water and spread them on a clean towel to dry. The FDA recommends washing fresh produce under running water and does not recommend soap or detergent.[1] Dry berries help the mixture hold together and reduce extra ice crystals.
Place the berries in a bowl and mash with a fork until they are jammy but still slightly textured. Stir in the honey. Taste the mixture and add a little more only if you want it sweeter. If the berries are very watery, let them sit for a few minutes and spoon off excess liquid; too much liquid makes the disks harder to dip.
Shape and freeze
Line a small baking sheet or plate with parchment paper. Spoon about one tablespoon of the raspberry mixture onto the parchment for each piece. Leave space between portions. Use the back of a spoon to make each disk roughly round and not too thick.
Freeze for 1 to 2 hours, or until the disks are firm enough to lift without bending. Freezer temperature and disk thickness affect the time. If you are short on space, use a small tray that fits flat in the freezer. Keep the tray level so the portions do not slide together.
Melt the chocolate
Place chocolate in a microwave-safe bowl. Heat in short 15- to 20-second intervals, stirring between each one, until mostly melted. Stir until smooth; residual heat will melt small pieces. Do not microwave for a long uninterrupted period, because chocolate can scorch or seize.
You can also melt the chocolate in a heat-safe bowl over a saucepan of gently simmering water. Keep water out of the chocolate. If even a small amount of water gets into the bowl, the texture may become grainy. Let the chocolate cool for a minute if it is very hot before dipping.
Coat the frozen disks
Remove only a few raspberry disks from the freezer at a time. Dip each one in the melted chocolate using a fork, turn to coat, and lift it out. Let excess chocolate drip back into the bowl. Place the coated disk on a parchment-lined tray. If the chocolate thickens, warm it briefly and stir.
If the disks break, let them sit for a minute or spoon chocolate over the top instead of fully dipping. A partial coating is easier and still gives a crisp chocolate layer. Add a pinch of salt or chopped nuts before the coating sets, if desired. If using a second type of chocolate for decoration, drizzle it after the first coating has begun to firm.
Return the tray to the freezer for 15 to 30 minutes, until the chocolate is firm. The bites can be eaten once set, or kept frozen for later.
Flavor and ingredient variations
Dark chocolate gives a less sweet coating; milk or white chocolate tastes sweeter. Chocolate brands vary in how quickly they melt and set, so use short heating intervals and stir often. If the raspberry mixture is very tart, add a small amount of honey. You can also add a little lemon zest or vanilla, but keep additions small so the disks still freeze firmly.
Honey is not vegan. For a vegan version, use a plant-based sweetener and dairy-free chocolate that suits your dietary needs. If adding nuts, check for allergies and avoid cross-contact with shared utensils and surfaces. Packaged chocolate may contain milk or soy; read labels when allergies matter.
Make the texture work
If the raspberry disks become too soft while dipping, return them to the freezer for several minutes. Work in small batches rather than removing the entire tray. If the chocolate coating is too thick, stir in a small amount of a neutral oil only if it is appropriate for the chocolate you use; note that this changes the final texture. Another option is to use a spoon to coat the top and sides without submerging each disk.
If the frozen centers are difficult to bite, let a piece sit at room temperature briefly before eating. Do not leave the whole batch out to soften. The fruit center will thaw and become soft if it sits too long, so remove only the portion you plan to serve.
Storage and serving
Store the bites in an airtight freezer-safe container with parchment between layers. Label the container with the date. Keep the dessert frozen until serving and return the remaining pieces to the freezer promptly. FoodSafety.gov recommends keeping frozen foods at 0°F (-18°C) or below.[2]
Serve straight from the freezer or allow one piece to soften briefly. The center may be icy when fully frozen and softer after a short rest. If the berries thaw and release liquid, the texture will be less firm but the flavor can still be enjoyable.
A small-batch dessert
The recipe is easy to scale, but make sure the tray fits flat in the freezer. To double the batch, mash the berries in a larger bowl and freeze the disks in stages if needed. Keep the chocolate warm enough to coat smoothly but not so hot that the frozen centers melt immediately. Clean utensils before switching between allergen-containing ingredients.
Enjoy the bites as a sweet snack or dessert. Fruit and chocolate can be part of many eating patterns, but this recipe is not a medicine or a guaranteed improvement over other desserts. Choose the chocolate and sweetness you like, and keep the portion that feels right for you.
Troubleshooting common problems
If the raspberry mixture spreads after freezing, make smaller portions and freeze them longer. If the fruit remains soft, it may contain too much liquid; drain a little before shaping next time. If the chocolate becomes thick, warm it briefly and stir rather than adding a large amount of liquid. If the coating cracks, the disks may be very cold or the chocolate layer too thick. A thin coating is easier to bite and uses less chocolate.
If you do not have parchment, use a clean freezer-safe tray or a reusable liner that can be peeled away after freezing. Do not place food directly on an unclean surface. Work quickly when coating frozen pieces, and return the tray to the freezer between batches. Keep the bowl of melted chocolate away from children and pets while it is warm.
Serve and share
For a party, place only a few pieces on a chilled plate and keep the rest frozen. Label the dessert if it contains honey, milk, soy, or nuts from added toppings. If serving people with allergies, use separate utensils and clean surfaces; a topping placed on the tray can transfer to other pieces. You can also leave toppings off and let people add them individually.
To make a smaller batch, mash half the pint and use proportionally less honey and chocolate. The remaining berries can be refrigerated for another use. If you make different flavors, label each container so people know what is inside. The dessert is easiest to portion when the centers are frozen solid and each piece is wrapped or separated with parchment.
Sources and further reading
- Selecting and Serving Produce SafelyU.S. Food and Drug Administration · Accessed 2026-11-03
- Food Safety During Power OutagesFoodSafety.gov · Accessed 2026-11-03